An image of Shirakawa-go's Three Houses, captured on the R5 with the standard Panasonic LX100 II profile applied and no additional editing
In my previous post, Adobe Needs to Fix Their Shit, I looked at the problems with Adobe's camera matching profiles for the Canon R5. Now, I'm going to through my current solution, making use of Adobe's own files and an open source program called dcpTool to get better default profiles. dcpTool allows you to decompile Adobe's built-in profile binaries to an XML file that can be modified and then converted back to a usable profile. There are a number of possibilites with a tool like this. In my case, I'm just scratching the surface by using it to extract Adobe's profiles for other cameras and converting them for use with my camera's RAW files.
As mentioned in my first post, Adobe offers what are called "camera matching profiles" for Lightroom and Photoshop, which are intended to closely match the JPEG profiles that camera companies load into their products. This allows you to work with a camera's more flexible raw outputs while still using its baseline color science as an editing starting point. Problem is, Canon's seemingly stopped providing Adobe with these profiles for free, and Adobe hasn't paid for them or done a decent job recreating the profiles themselves. While searching for a solution to this, I learned about DCP files, the format Adobe uses to store their available profiles. And as it turns out, the only thing in these files that ties them to a specific camera model is a single XML tag.
To get started, I first had to find where Lightroom's profiles are stored. By default, they're located at C:\Program Files\Adobe\Adobe Lightroom Classic\Resources\CameraProfiles\Camera on Windows. From there, everything is broken into folders by model of camera, each filled with DCP files. To start, I grabbed the Standard profiles from close relatives of my camera, the Canon R6M3 and 5DIV. The R6M3 is the latest camera available from Canon, and the 5DIV is one of the last DSLRs they made before switching to mirrorless. I copied those files to the dcpTool folder and decompiled them.

Compiling or decompiling DCP files with dcpTool only takes one command.
Upon decompilation, I found a 30,000 line XML file containing thousands of permutations of hue, saturation, and values with shift and scaling definitions. If you don't know what this means, don't worry. I don't understand it either! Fully wrapping your head around everything in a DCP file would take countless hours, and I'm doing this to avoid spending time on a computer. So I collapsed all the complex lookup tables and instead focused on two easy to understand elements: Profile Name and Unique Camera Model Restriction. Profile Name is pretty straightforward; all it does it define the name that will be displayed for the profile within Lightroom. Unique Camera Model Restriction seems to just perform a string match against the metadata of your file to determine which profiles should be available.I was hopeful that I could just remove the tag and make a profile available regardless of camera, but Lightroom throws an error importing a file without the tag. Instead, I just decompiled one of the R5's profiles to find its unique string, "Canon EOS R5", and inserted it into the field. I highly recommend changing the name to something easily identifiable as well, to avoid a messy and confusing profile gallery.
The XML file of the Panasonic LX100 II's standard profile, extracted from its Adobe DCP file. 30,000 or so lines of scary table values are collapsed. The UniqueCameraModelRestriction tag must be updated for use with a camera besides the LX100 II.
After modifying the XML, I recompiled it using a single command with dcpTool. With this, the result is a DCP file that can be imported into Lightroom via the profile browser, which should throw an error message if there are any issues with the file. Once I got used to editing the files, I found it to be much faster to directly copy the profiles to the imports folder, located at %APPDATA%\Adobe\CameraRaw\CameraProfiles\Imported. This is where profiles can be directly deleted if there were any mistakes with the naming or unique camera settings as well. So, how are the results? Pretty good! Mostly! For testing's sake, I also pulled in the standard profiles from the original Canon 5D and my other digital camera, the Panasonic LX100M2.
Here are five versions of an image of a Honda bike, each with a different profile. The differences are probably pretty subtle at blog size, so you can open them in new tabs if you'd like to look closer. I've also put a cropped 100% view of four in an area where the color differences are particularly evident.

The Canon R5 Standard profile

The Canon R6M3 Standard profile

The Canon 5D Standard profile
The Canon 5DIV Standard profile
The Panasonic LX100 II Standard profile

From left to right, top to bottom: Canon R5, Canon 5DIV, Canon R6M3, Panasonic LX100 II. The 5D is lacking in contrast, so I've excluded it from this comparison.
The R5 and R6M3 are quite similar, though I find the contrast to be slightly better on the R6M3. The 5DIV has my favorite results here. The blues render similarly to the other Canon cameras, but the gold Honda logo looks significantly better to my eye. It just looks a bit more gold than the other golds. The LX100 II shows a different interpretation of the blue paint that is pretty pleasant as well. Here's another comparison of the R5 to the 5DIV results. Once again, I think the 5DIV looks better. The wood has some more orange that makes it look livelier, and the rust on the corrugated steel looks more natural. I like the reds on both images.

Canon R5 on the left, Canon 5DIV on the right.
This is entirely unrelated, but I seem to have accidentally cursed my family for three generations by taking this photo:
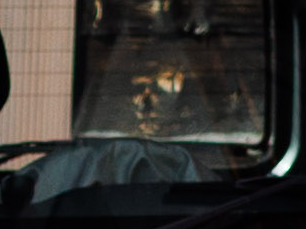
The 5DIV doesn't win in every scenario. With this doll photo, the results are way too yellow. This is mostly a white balance issue that can be adjusted out, but it demonstrates the power of having multiple profiles when editing.
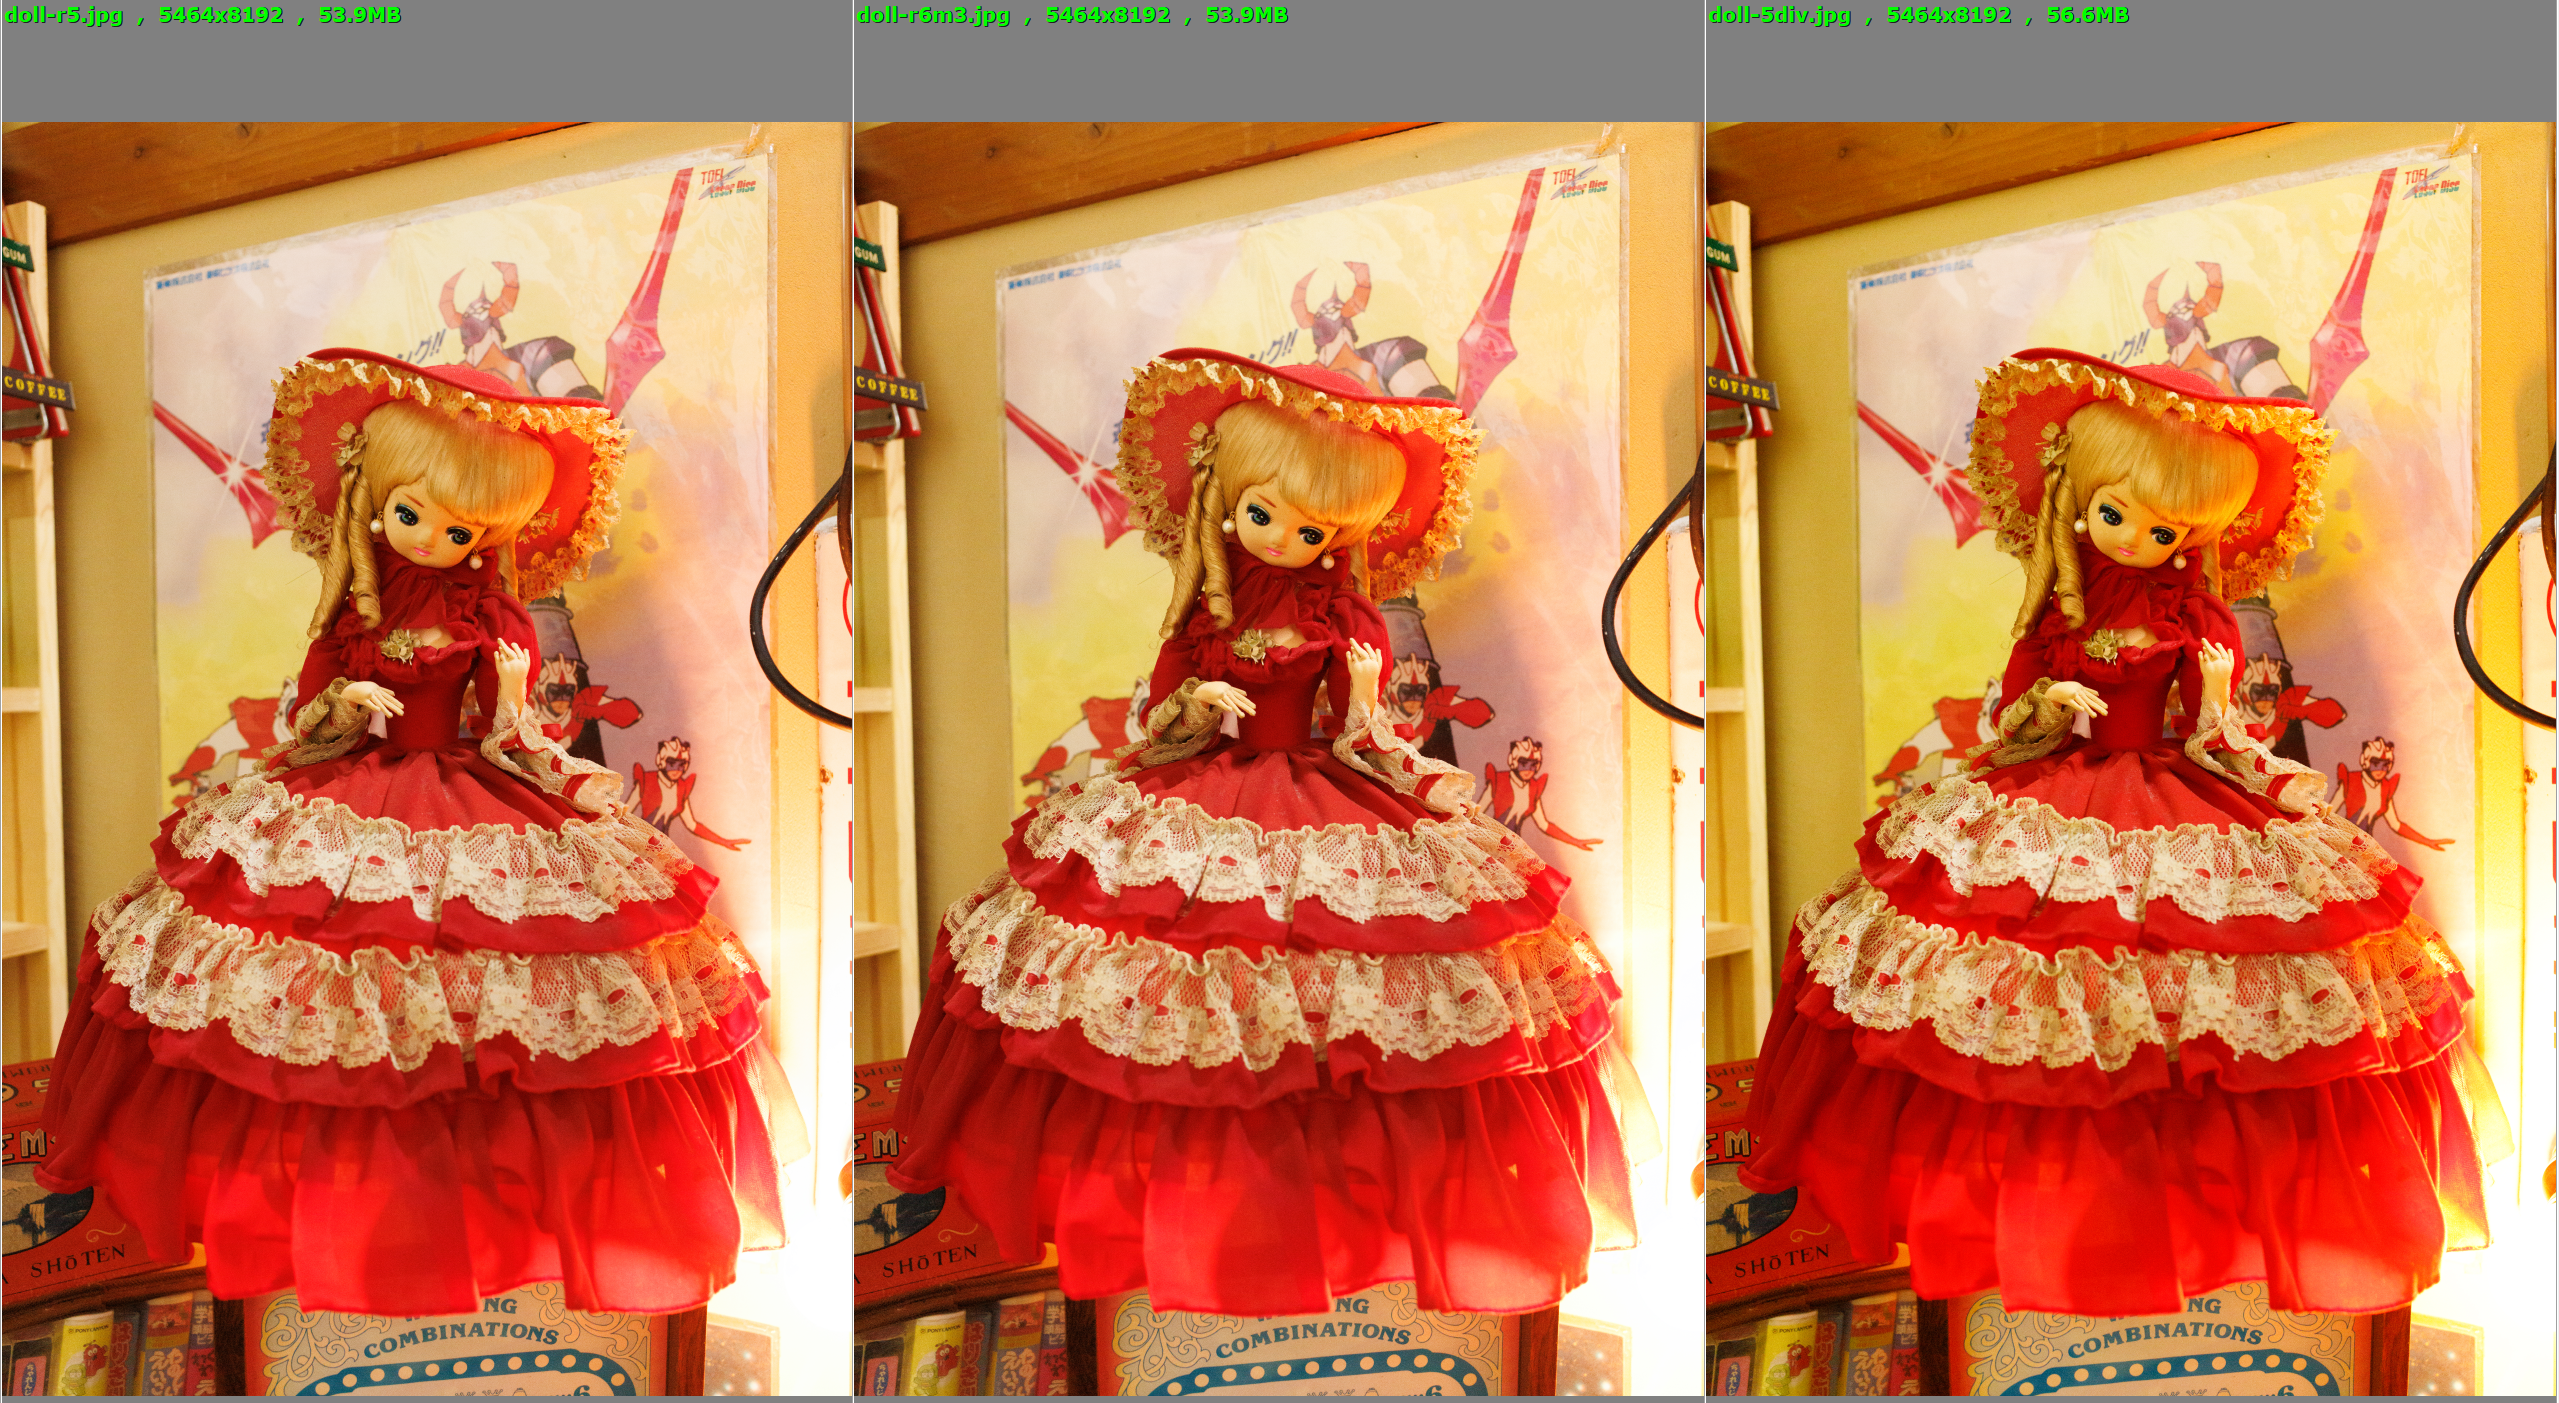
Top row: Canon R5, R6M3, 5DIV. Bottom row: Canon R5, 5D, and Panasonic LX100 II
Here, I think the original 5D looks pretty good, as the light shining through the dress makes the fabric look more transparent. Nonetheless, I'll probably end up using the 5DIV profile for most of my images until I find something I like more and use the LX100 II and original 5D profiles when I want something a little different.
An important caveat with the approach outlined above is that using camera-matching profiles from other camera models isn't going to give the exact results that they would with the intended camera. Each camera is going to treat its raw outputs slightly differently, especially with pieces of the image where extra information is captured like dynamic range and white balance. The differences will be even greater between camera manufacturers or with models of significantly different ages. I think this is a big part of why the 5D profiles appear to lack contrast when applied to images taken with the R5.
I also wanted to mention that in the first post on this topic, I said that Canon has no reason to deny Adobe access to their color profiles. But this isn't true for every camera manufacturer. Boutique companies like Leica and Hasselblad make their color rendering a major selling point, so they usually don't offer up their formulas, even at a price. Doing some research, it seems that Hasselblad users generally need to edit their images in Hasselblad's own software first to lock in the general colors before importing into Lightroom. This sounds like a pain in the ass, but I also expect that most people that drop $10k on a Hasselblad are shooting JPEGs anyway.
I'm going to continue to explore options for easy editing, such as film simulations and presets others have made. But for now, smash that damned like button and shove that bell up your ass.